two picture threads in one day, woo hoo!

don't know if this really belongs here in artwork, but this is a how-to for some really simple origami I like to make. You can use them for decoration or whatever, the possibilites are endless. The best thing about them is that they look complicated but are really effortless (almost). Well, I'm sure lots of you can make much more exciting origami but here's my contribution. Hope you enjoy making them!

So, how to:
ok, so this REALLY is easy to make. Don't let the number of photos fool you. I just wanted to make sure you could all understand it with all clarity. So here goes...bear with me
To start, you need a square piece of paper. I usually start with an A4 piece of paper, then fold it in half, and separate the halves. Then I halve it again, and separate the two halves. And I do this one more time, and end up with an A7 piece of paper, like this:

then you need to make a square out of this. What I usually do is fold over one of the top 2 corners until the sides meet. Then you chop off the bit that's left, and you have a square piece of paper.
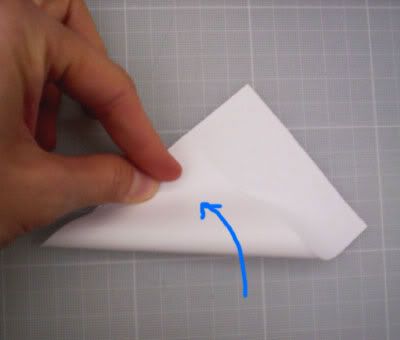
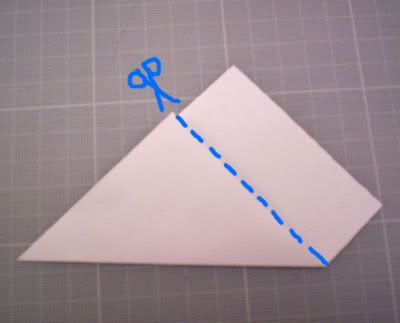
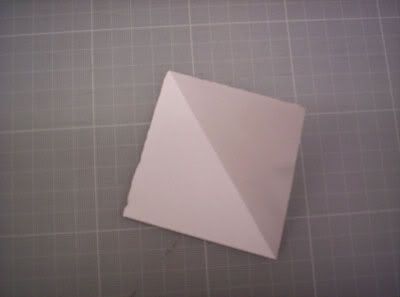
The square paper can be any size you like, huge or teeny, whatever you're comfortable with.
Then the origami folding actually starts. If you're using coloured paper, remember that if only one side has colour, it should be on the outside, so in the final result it's facing out.
Fold the square in half:
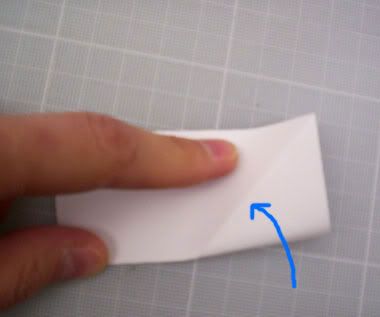
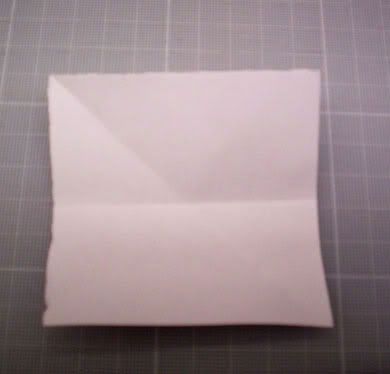
Then fold that half of the square in half.
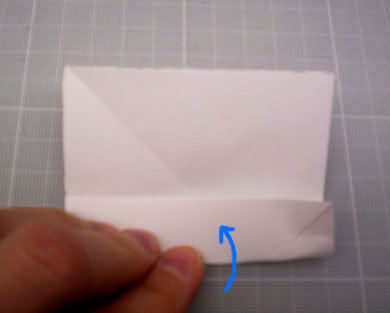
Then fold the lower left corner so the side meets the last fold you made (quarter fold).
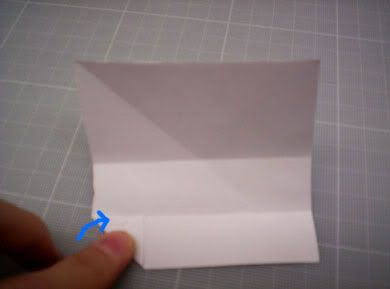
Fold the already folded corner again, so the side meets the quarter fold.
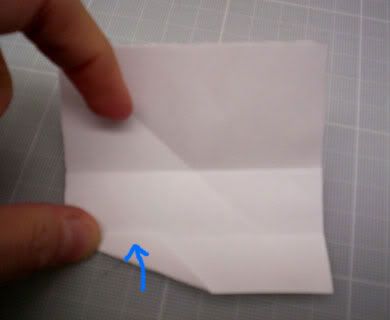
close the quarter fold to the halfway fold.
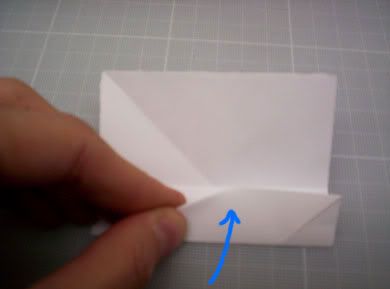
flip your paper 180º and repeat the steps for this side:
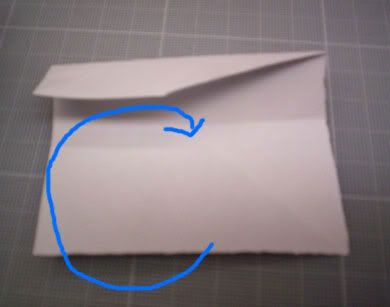
fold in half:
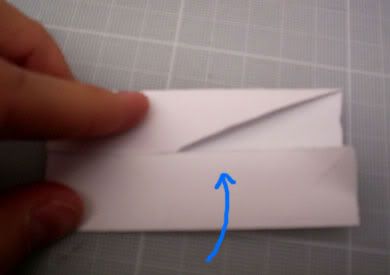
fold the corner:
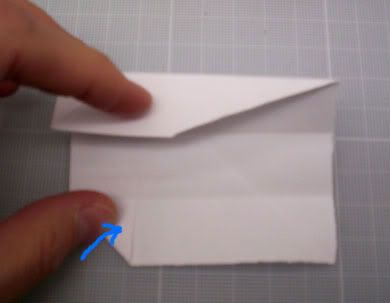
refold the corner:
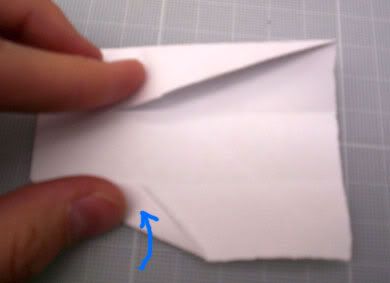
close the quarter fold to the halfway fold:
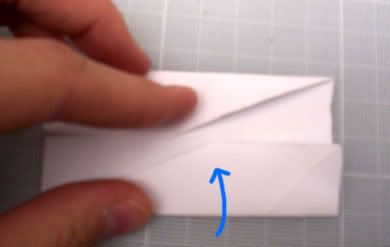
Now fold the bottom right corner so the side touches the opposite quarter fold (lift the opposite flap so the corner folds under it):
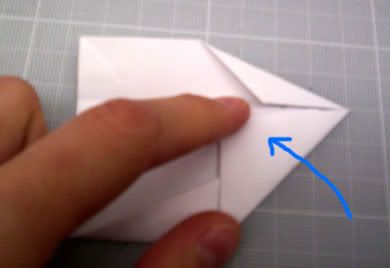
then close the other flap over it again:
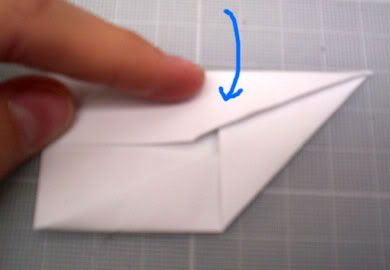
flip your paper 180º and fold the bottom right corner to the top fold, as on the other side:
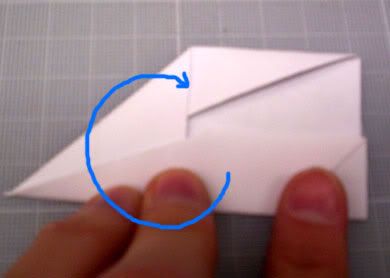
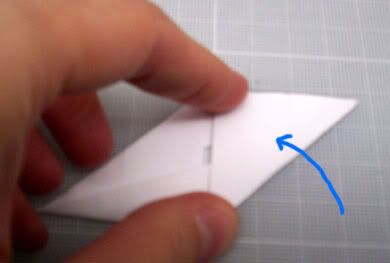
now slip the folded corner under the other already closed flap, so that the piece has no loose ends:
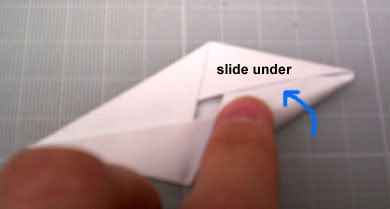
here is the piece. almost finished:
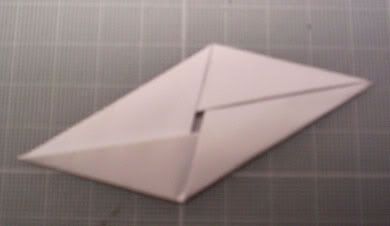
now fold the piece in half by the central line:
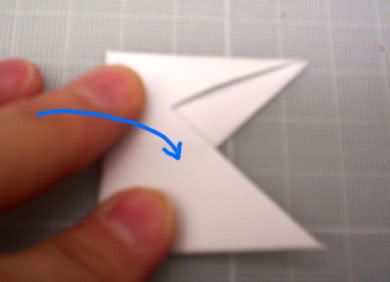
now fold over the corner to meet the opposite one:
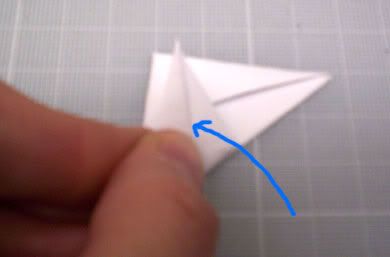
flip your piece upside down and repeat this on the other side:
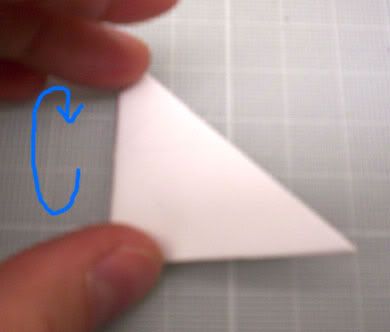
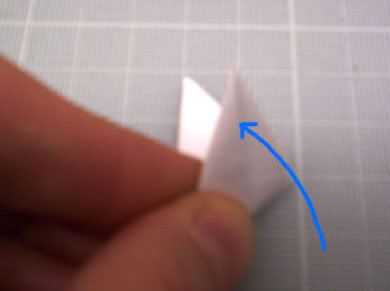
here is the finished puzzle piece that makes up my dodecahedron:
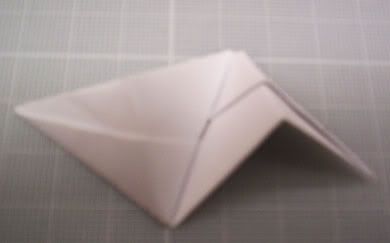
ASSEMBLY:
this origami works like a little puzzle. Once you've worked out how the pieces fit together, it's very easy to do.
Here are 3 coloured paper pieces to start:
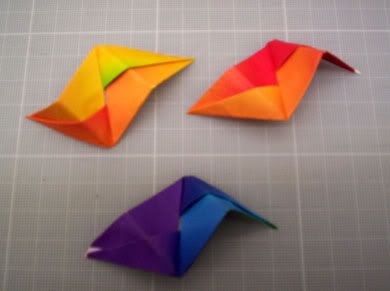
Each piece has 2 keys and two flaps. They fit together as shown:
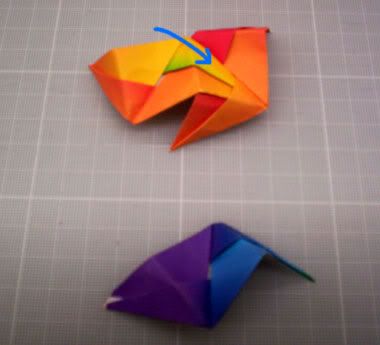
The first basic shape you can make with them is a triangular corner: As you see these pieces fit together in threes:
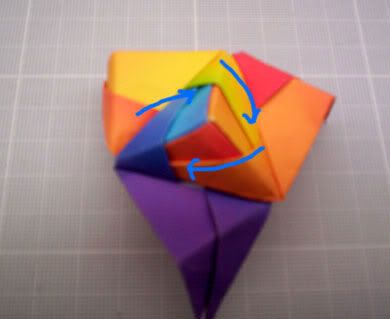
the keys that are left hanging out, will be the base for further corners:
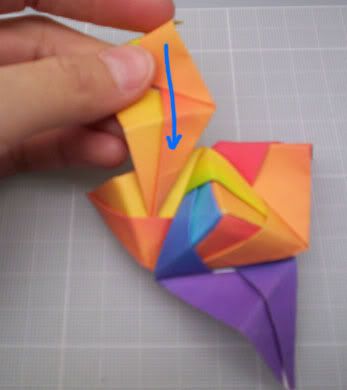
you just keep adding on as many corners as you want. You can make about 4 different 3D geometric shapes with these pieces. For this dodecahedron, you need to have groups of 5 corners together:
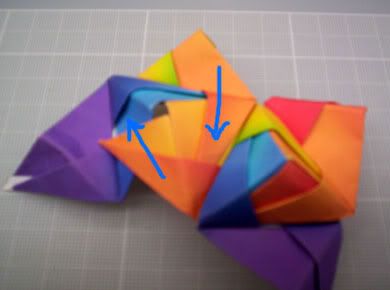
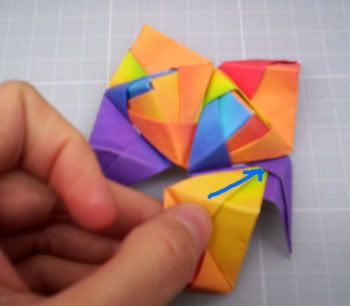
this is the finished piece. As you can see ,there is a group of 5 corners in plain view in this photo. Around it are other groups of 5, that all together make this origami shape.

So there you are, hope some of you will be brave enough to give it a go. Let me know how you do!